
Let’s Use Collections
Hey Trailblazers, welcome back! Today we are tackling collections. Collections allow us to organize information before we poke Salesforce to go update items for us. We’re going to get a brief overview of what Collections are before we dive in to our use case. Let’s get into it.

Our Collection Use Case
Before we dig too deep in to the collections themselves, lets cover today’s use case. SFDCStudy allows users to submit cases about concerns they may be facing. When customers submit the cases for themselves they are able to create a case for each person experiencing the issue. However, sometimes a supervisor needs to call in to report the same issue for multiple people in their department. For each person they want to report the same issue, but want the contact to be for the specific user experiencing the issue so the cases can be closed for each person. After all some of their employees fix things right away, while others need more help to resolve the issue. Right now this is taking our case agents way too much time. To solve this they would like a way to quickly create cases without leaving the case screen. The new cases should reference the information from the original case but should be associated to the other contact.
Collections: What Are They?
A Collection is quite literally a collection of values. These can be records, text snippets, numbers, variables, pretty much anything. In our previous posts we talked about looping through a collection to check values. Today we are going to talk about creating collections to send to Salesforce instead of going through the collections Salesforce gives us.

Create Our Input Variable
As the goal is to embed our flow in the page itself we will want to create an input variable so we can locate the records information for reference. To do this we will create a new resource. It should be a variable of the text type and where we have selected “Available for input”. This will allow us to specify this field as one we will pass information to, either from a lightning page, process builder or another flow.
Locate Our Current Case
Now that we have a way to pass the case id number, we can use this information to ask Salesforce the details of the case we are working with for reference in our additional cases. We can then use a Get Record to pull the record. When defining the Get Record we search for only the first record (Case ID is unique) and set it to the text variable we specified.
As with previous articles we can allow the flow to hold the variables or we can select them manually.


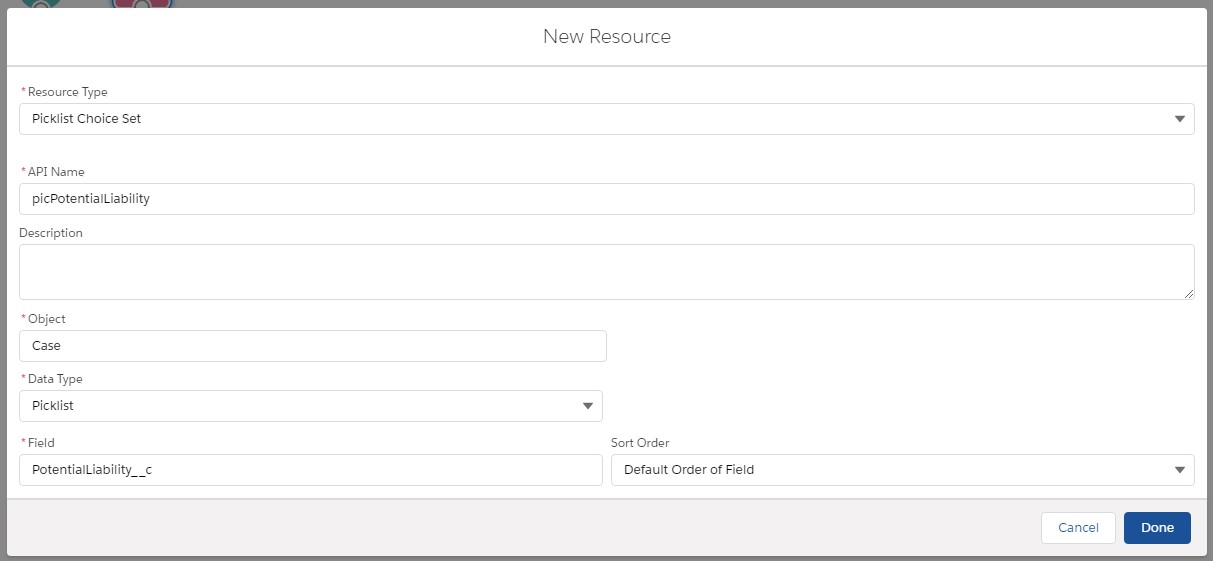
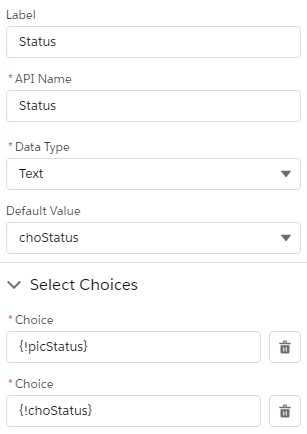
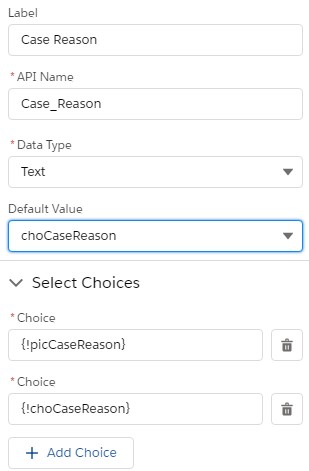
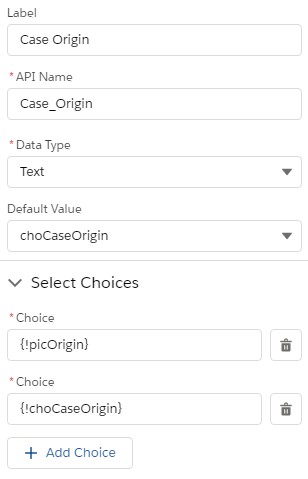
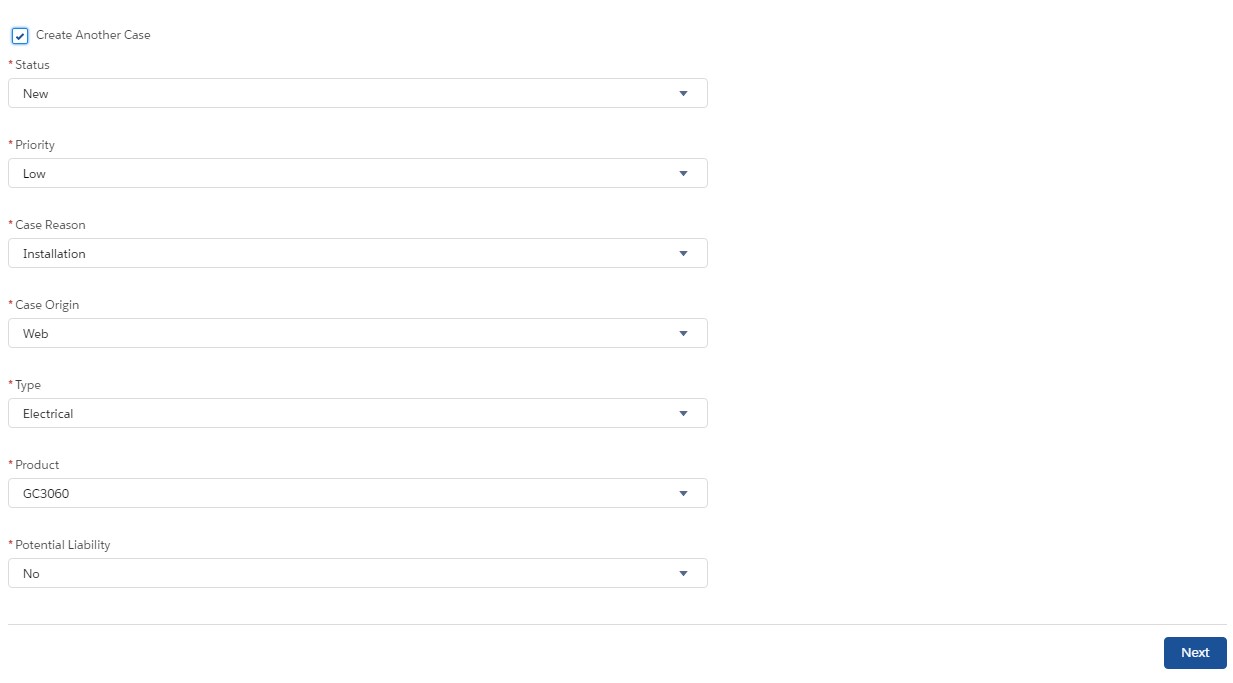
All Those Picklists
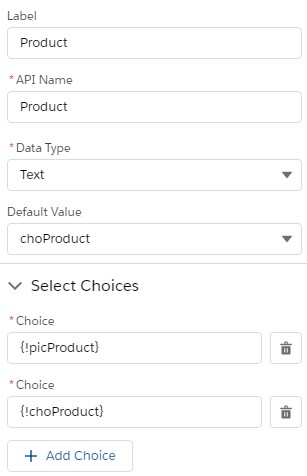
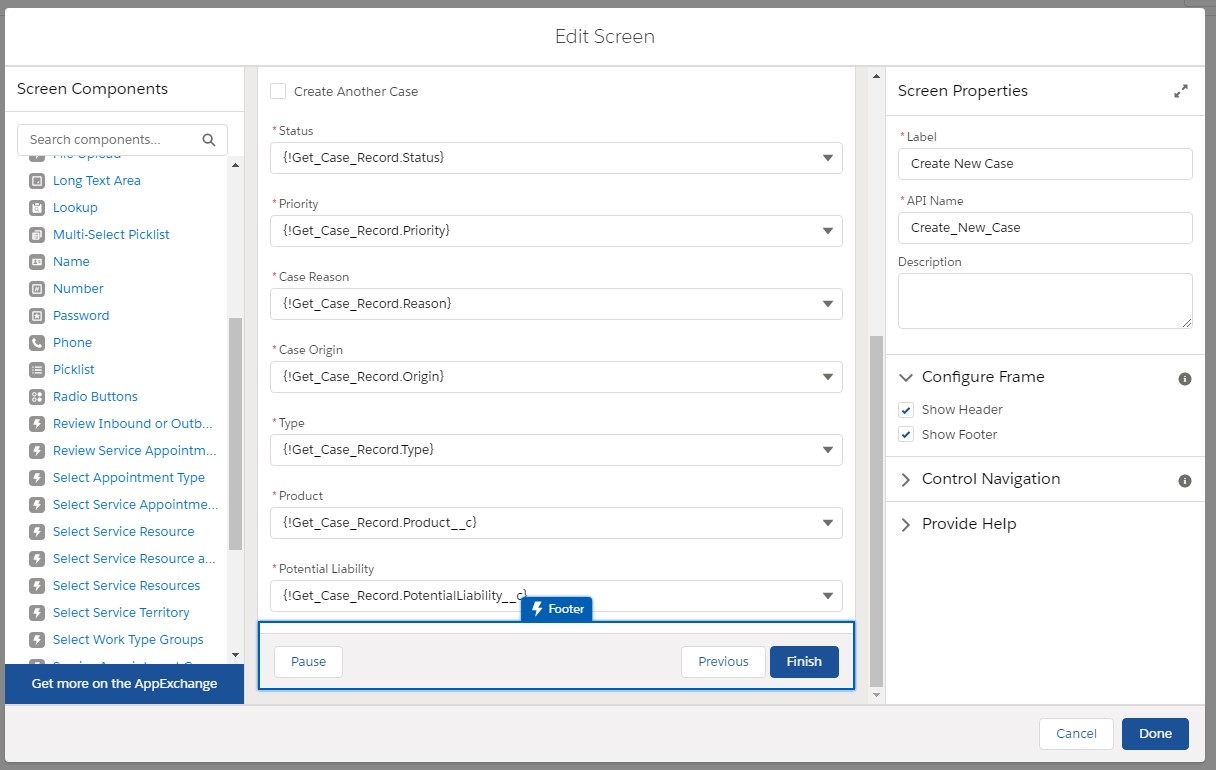
As the Case object includes many picklists we are creating Picklist choice sets to pull the Picklist Values to all the users to see these values on the screen and choose to change the picklist value for a specific case. We are creating picklist choice sets for the following: Status, Priority, Type, Origin, Case Reason, Product and Potential Liability. For each of these picklists we will also be creating a choice variable that references the current cases value to be set as the default choice of the picklist on the screen.
Create The Screen
Next up we want to create the screen that allows the users to see the existing data, but gives them the opportunity to update the data before we add the new records to a collection.


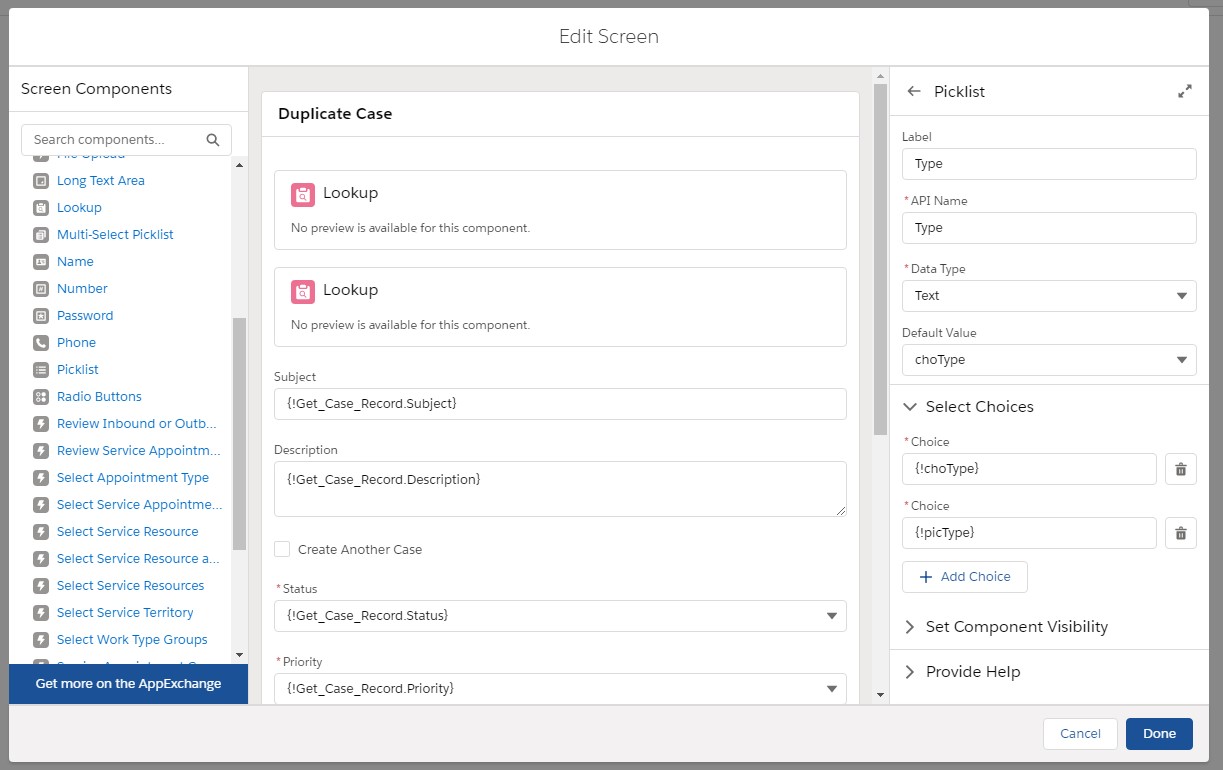
Using the picklist choice sets we made and the choice variables add a picklist component to the screen.
Lookups
For the Case object there are two lookups:
1. Account
2. Contact
While we will definitely need a new contact we can prepopulate the Account value by referencing the existing Account listed. The user will still have the option to change the Account, but will not have to by default.
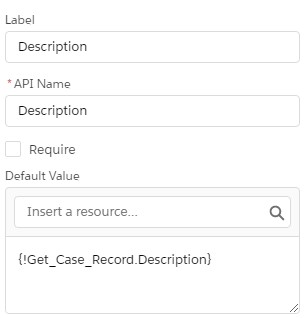
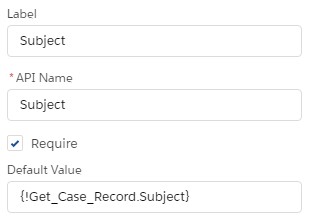
Text and Long Text
Next up we can add the Subject and Description text and long text area respectively. Once again we can reference the existing value to save our users some leg work.
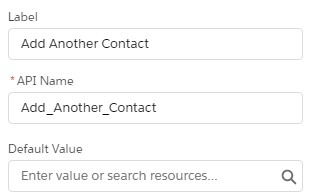
Add More Checkbox
Finally, add a checkbox to the screen that the user can check to indicate they wish to add another so we know to keep directing them to the screen.


Create A New Record Variable
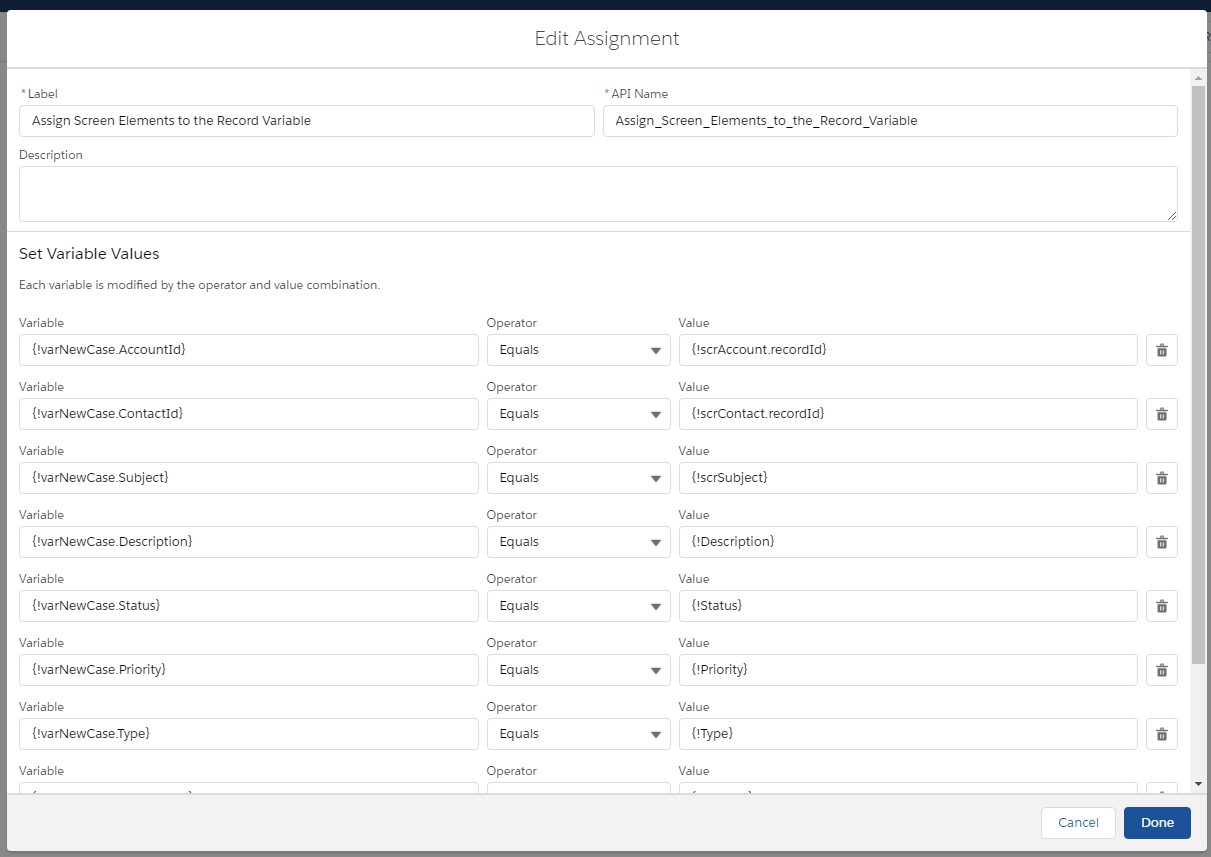
Now that we can collect the new record information we need to assign it to a new record. First we are going to create a new variable of the record type. This record variable allows us to “create” the new case. Once done we will add it to the collection. Before we can add it to the collection we need to assign the values from screen to the record variable. Make sure you are assigning to the screen fields. Attempting to specify the Picklist Choice or a specific choice will not work out well.

Our Collection Variable
Now it’s time for us to create our magical collection variable. This variable is going to hold on to a lot of data for us. To create this we are going to select to create a New Resource. The big difference between our original new case variable and our collection variable is selecting the Allow multiple values (collection) checkbox.

Assign Our Case Variable to the Collection
Using another Assignment node (do not use the same one) we will add the record we defined to the collection. A few fun notes. Make sure your operator is set to Add not Equal. When you go to select your new case variable under value it will automatically try to access the record values by adding a period and pulling up the list. Remove the period to reference the record itself.


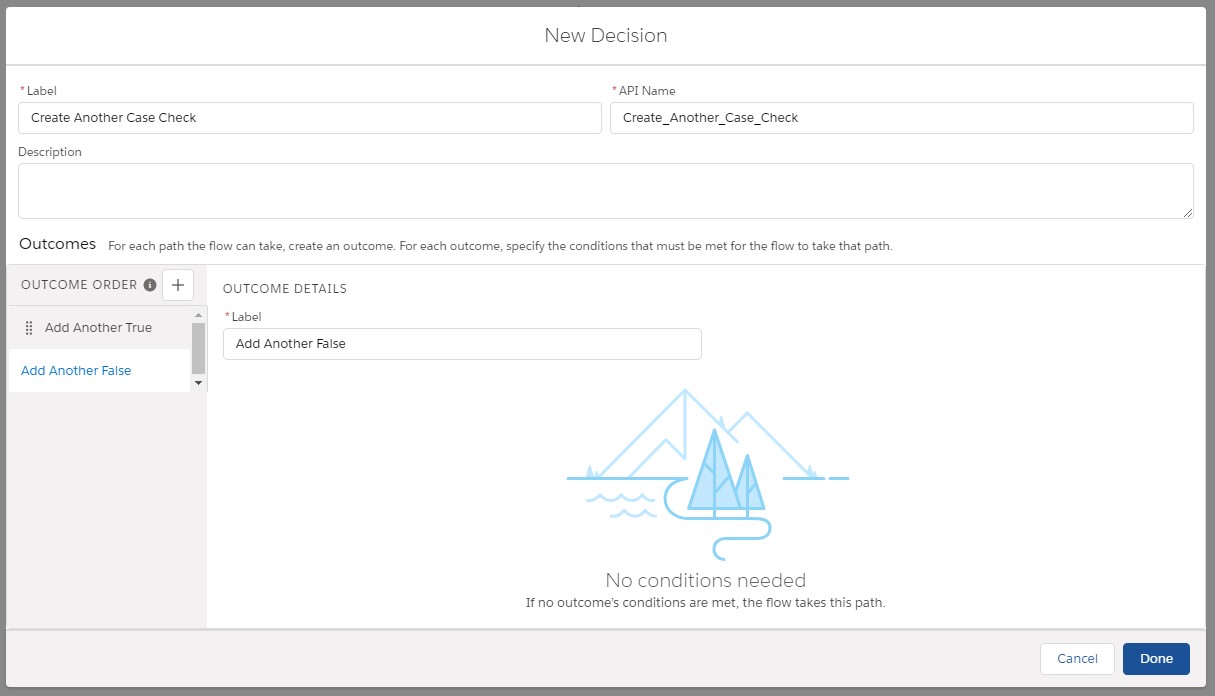
Add Another Case
We are now ready to add another case. Referencing our screen checkbox we can set up a decision to keep adding new cases or finish. Note, we have not yet poked Salesforce to submit any record. Add the decision element to the screen. If the checkbox is true we will direct the user back to the screen element to enter the new case information. The screen will provide the original cases reference information.
Submit Collection
Once the user is done creating cases to add to the collection we are ready to create the records in Salesforce. To use this we will use the Create Records node. Select to create Multiple records under how many to create. It will then ask us to share the collection. Enter the name of the collection variable. All the records we created will then be inserted all at once.


Add a Success Message
To avoid confusion it is best to add a success message screen. We can add that right after we create the new records. Unlike a quick action there is no default redirect to the records.
The Connected Flow

Activate the Flow and Embed in Page
There are multiple ways to activate the screen but we are going to embed the flow in the existing Lightning Page. Activate the flow and navigate to the Case Lightning Page. Select the space you wish to add the flow to and drag the flow component to the page. In the right of the screen select the checkbox to Pass record ID into this variable. This allows your flow to reference the case id. Save the Page and Activate the Lightning Page if necessary. After the page is activated select back.
Check out your embedded flow!


Great work Trailblazers.
We have a lot more we can do with this flow so stay tuned.
Have a minute? Check out more flow articles.
Don’t have time to build this or want to try and expand the flow? Check out the link to install for yourself: https://login.salesforce.com/packaging/installPackage.apexp?p0=04t3h000003ACiW
Trackbacks/Pingbacks