
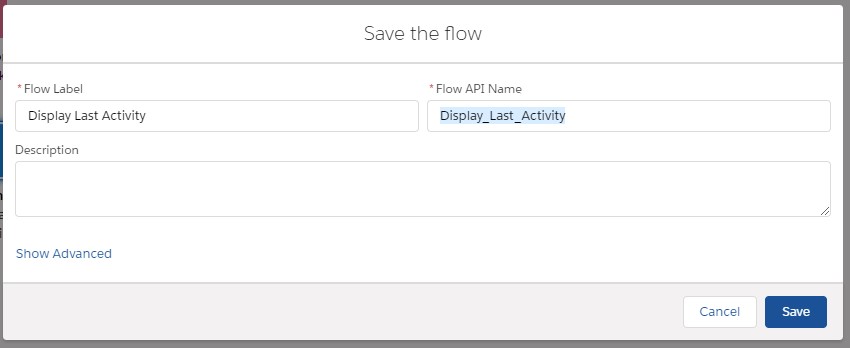
Hey trailblazers, welcome back!
I’ve been making a ton of flows lately and am going to do my best to get more tutorials out there as soon as I can, but I am definitely realizing I need to start with some starter blocks. So today, let’s talk about an embedded flow.
So what is an embedded flow? For our purposes an embedded flow is a Salesforce Lightning screen flow that has been directly embedded into a Lightning page. Now there are a number of ways to do it (quick actions or visualforce pages for example). Today we’re going to embed a flow directly into a Lightning page. Let’s get started.
Use Case for Embedded Flow
Our Case records have a lot of details, our activity history is full of entries. Overall its getting harder and harder to know what the last communication was. To fix this we want to use an embedded flow on the Case record that displays the most recent activity information.
For us to get started head to the flow portion of the Salesforce setup menu and select to make a new Screen flow.

Building Our Flow to be Embedded
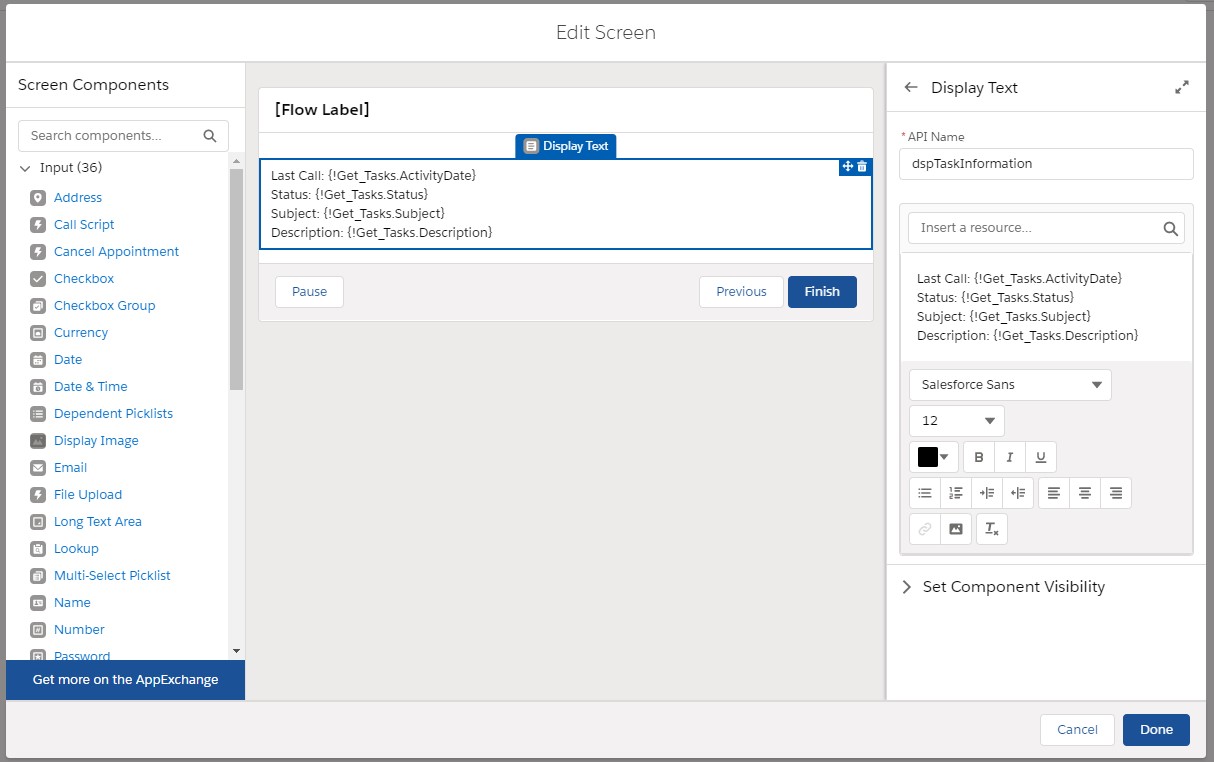
Our first step in creating the flow is knowing the case id for the record it is going to be embedded on. Create a text variable that is available for input. You may notice ours is labeled “recordId”. For an embedded screen flow the name of the variable can be anything as the Lightning Layout will allow us to specify the variable to pass the value to. However, if we wanted to reuse this flow with a quick action there would not be an option to specify the variable. To pass the record id with a quick action the variable name must be “recordId” and it is case sensitive. Back to our embedded flow. Now that we know which Case we are searching for lets get the Tasks associated with it by doing a Get Records element that is set to the Task object. We can set the WhatId equal to the recordId variable that is being input. Since we only want to see the most recent record we need to sort the records. This time we are using the ActivityDate and since we want the newest we will sort in descending order. We only want the latest record so we will leave it set to store only the first record. Now that we have the most recent information we can use a screen element to display the information. On the new screen component we’ve added the following labels and fields:Last Call: {!Get_Tasks.ActivityDate}
Status: {!Get_Tasks.Status}
Subject: {!Get_Tasks.Subject}
Description: {!Get_Tasks.Description}


Connecting and Activating Our Embedded Flow
Now that we have created all of our components we can connect them in the order created. Once we are done with that they are all set to be saved and activated. We will not be able to embed our flow on a Lightning page until it has been activated. However, if you wish to test your flow first you can use the Debug button. The debug screen will ask for the record id. This is the 18 digit id you can get from the URL bar when looking at a Case.
Fun fact about this flow, since we are searching for the WhatId we can use it for any object that has activities associated to it using this field. Not just on the Case object.

Embedding the Flow in the Lightning Layout
Now for the fun part. Head to a Case record, select the gear icon and Edit Page. This will take us to the Lightning Page Editor. From the Components tab on the left grab the Flow component and drag it to be directly above the Details section of the page. Select your flow from the flow drop down. Once selected you will see the recordId variable you created available as a text input. Select the checkbox to “Pass record ID into this variable”.
Save your Lightning Page. If you have not activated it already you may wish to do so now. Once you go back to your Case page you can see your most recent activity data listed in an easy to read spot.


Challenge
We are also super excited to announce our first challenge. Now I don’t know about you, but I really like Salesforce stickers. So much so that I’ve amassed a few and for those following along I’m willing to share them with you. To get a sticker you need to complete the following challenge:
1. Create the flow from this article
2. Update the flow to only show the most recent “High Priority” task. (There are a few ways to do it)
3. Take a screen shot of your flow and what you changed to make it work and send it to Challenges@sfdcstudy.org
The first five to successfully complete the challenge will have a Salesforce sticker from our collection mailed to them. To make the mailing part easier please provide an address you would like it mailed to and confirm if you want your name listed on our site as one of our challenge winners.
As always Trailblazers, thanks for joining us and we’ll see you in the groups or on the trails.